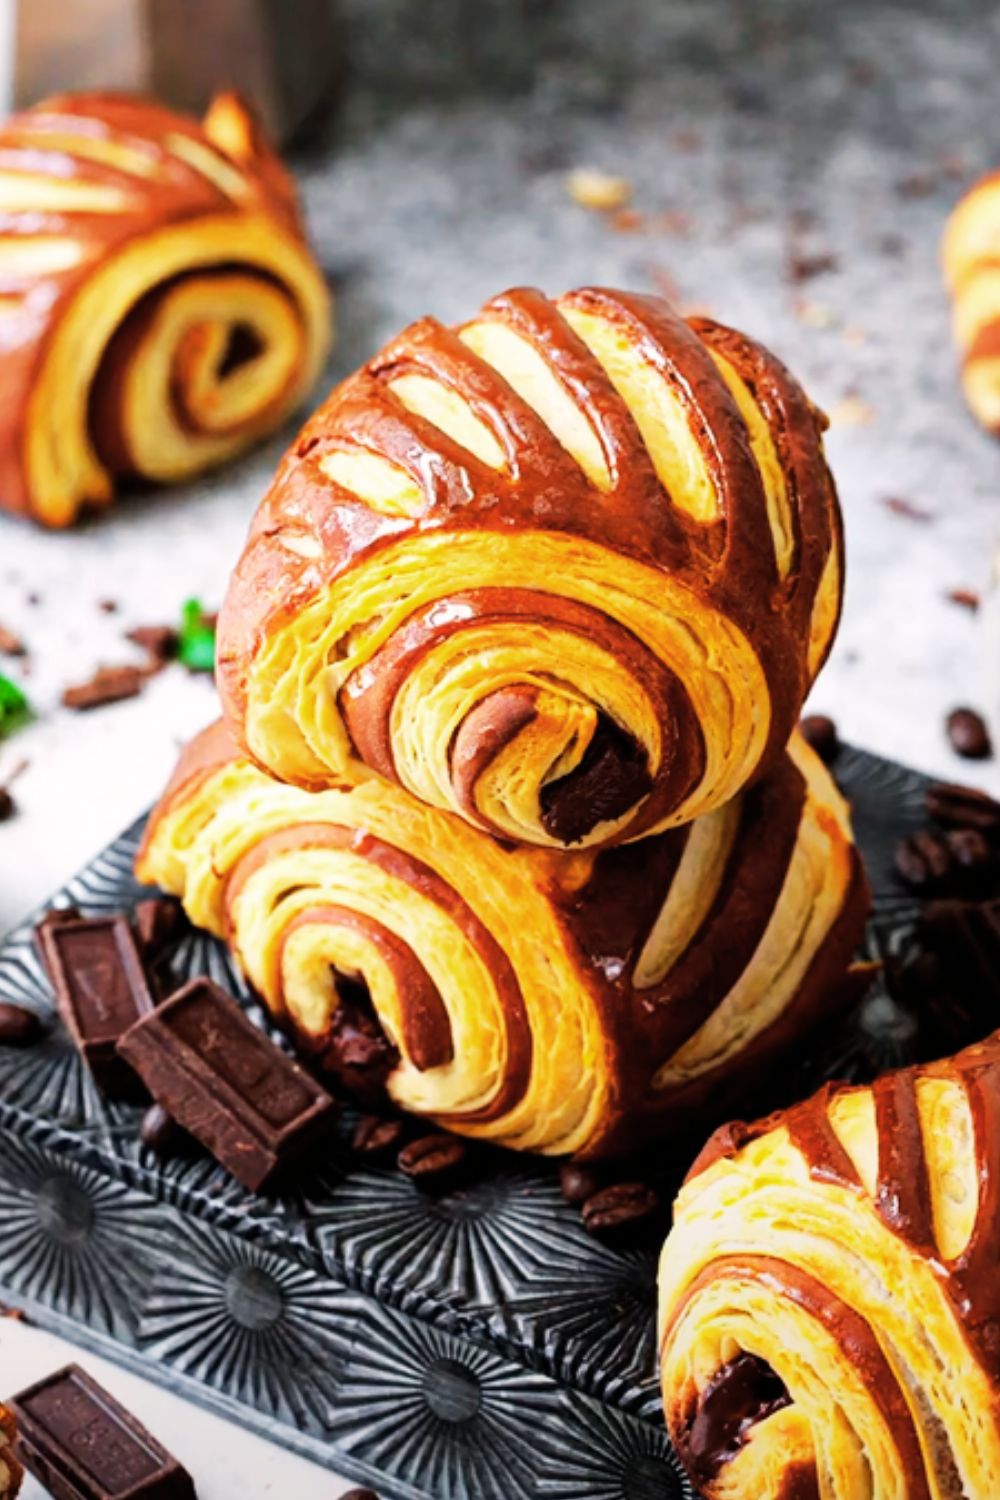
Have you ever craved a dessert that combines buttery, flaky layers with silky smooth vanilla custard? I’m about to share my absolute favorite recipe that has never failed to impress at family gatherings and dinner parties. This Vanilla Custard Puff Pastry Cake, often referred to as a “Mille Feuille” or “Napoleon” in fancy bakeries, might look intimidating with its multiple layers and professional appearance, but I promise it’s completely achievable in your home kitchen.
The beauty of this dessert lies in its perfect balance of textures – crisp, shatteringly thin pastry layers separated by rich, creamy vanilla custard that melts in your mouth. The contrast between the light, airy puff pastry and the substantial, velvety custard creates a dessert experience that feels both indulgent and refined.
I’ve been perfecting this recipe for years, and I’m excited to share all my tips and tricks that transform store-bought puff pastry into a bakery-worthy masterpiece. Let’s dive into creating this showstopper dessert that’s bound to become one of your signature recipes!
Ingredients
For the Puff Pastry Layers:
- 2 sheets of high-quality all-butter puff pastry (approximately 14 oz or 400g total)
- 2 tablespoons granulated sugar (for sprinkling)
- 1 egg (for egg wash)
For the Vanilla Custard:
- 4 large egg yolks
- 1/2 cup (100g) granulated sugar
- 1/4 cup (30g) cornstarch
- 1/4 teaspoon salt
- 2 cups (480ml) whole milk
- 1/2 cup (120ml) heavy cream
- 2 teaspoons pure vanilla extract
- 1 vanilla bean, split and seeds scraped (optional but highly recommended)
- 3 tablespoons (42g) unsalted butter, cut into small pieces
For the Glaze (Optional):
- 1 cup (120g) powdered sugar
- 2-3 tablespoons milk
- 1/2 teaspoon vanilla extract
- 1 tablespoon unsalted butter, melted
For Assembly:
- 1 tablespoon powdered sugar (for dusting)
- 1/2 cup (80g) fresh berries (optional, for garnish)
Equipment Needed
- Baking sheets
- Parchment paper
- Rolling pin
- Fork
- Medium saucepan
- Whisk
- Rubber spatula
- Fine-mesh sieve
- Mixing bowls
- Pastry brush
- Offset spatula
- Sharp knife or pizza cutter
- Kitchen scale (helpful but not required)
Preparation Time
| Task | Time |
|---|---|
| Prep Work | 30 minutes |
| Baking Pastry | 25 minutes |
| Making Custard | 20 minutes |
| Cooling Time | 2-3 hours |
| Assembly | 30 minutes |
| Total Time | Approximately 4 hours |
Step-by-Step Instructions
Preparing the Puff Pastry Layers
- Begin by preheating your oven to 400°F (200°C). Line two baking sheets with parchment paper.
- Lightly dust your work surface with flour and unfold the puff pastry sheets. Using a rolling pin, gently roll each sheet into a rectangle approximately 12×14 inches (30×35 cm), keeping the thickness even throughout.
- Transfer each pastry sheet to a prepared baking sheet. Using a fork, prick the entire surface of each pastry sheet. This prevents excessive puffing and ensures even layers.
- Brush the pastry sheets lightly with beaten egg and sprinkle with granulated sugar. Place another sheet of parchment paper on top of each pastry sheet, then place a second baking sheet on top to create weight.
- Bake for 15 minutes with the weight on top. Then remove the top baking sheet and parchment paper, and continue baking for another 7-10 minutes until the pastry is golden brown and fully cooked.
- When done, remove from the oven and immediately transfer to a wire rack to cool completely. The pastry sheets will crisp up as they cool.
- Once cooled, use a sharp knife or pizza cutter to trim the edges and cut each sheet into three equal rectangles. You should have six rectangles in total.
Making the Vanilla Custard
The perfect vanilla custard is the heart and soul of this dessert. While it requires attention and patience, the result is well worth the effort!
- In a medium bowl, whisk together egg yolks, 1/4 cup of the sugar, cornstarch, and salt until smooth and pale yellow. Set aside.
- In a medium saucepan, combine the milk, heavy cream, remaining 1/4 cup sugar, and vanilla bean seeds and pod (if using). Heat over medium heat until it just starts to simmer around the edges (do not boil).
- Once the milk mixture is hot, remove the vanilla bean pod. Slowly pour about 1 cup of the hot milk mixture into the egg yolk mixture while whisking constantly. This is called tempering and prevents the eggs from scrambling.
- Pour the tempered egg mixture back into the saucepan with the remaining milk mixture, whisking constantly.
- Return the saucepan to medium heat and cook, whisking continuously, until the mixture thickens and begins to bubble. This should take about 3-4 minutes.
- Once thickened, continue cooking for another 1-2 minutes, still whisking constantly, to cook out the cornstarch taste.
- Remove from heat and immediately stir in the vanilla extract and butter pieces until fully incorporated and smooth.
- Pour the custard through a fine-mesh sieve into a clean bowl to remove any lumps.
- Cover the surface directly with plastic wrap to prevent a skin from forming, and refrigerate until completely chilled and set, at least 2 hours or overnight.

Making the Glaze (Optional)
If you’d like to add a beautiful finishing touch to your cake, a simple vanilla glaze works wonderfully:
- In a small bowl, whisk together the powdered sugar, 2 tablespoons of milk, vanilla extract, and melted butter until smooth.
- Add more milk, a teaspoon at a time, if needed to achieve a thick but pourable consistency.
- The glaze should be thick enough to coat the back of a spoon but still able to slowly drip off.
Assembling the Cake
This is where your masterpiece comes together! Take your time with assembly for the most professional-looking results.
- Remove the chilled custard from the refrigerator and whisk it briefly to loosen it if it has become too firm.
- Place one rectangle of puff pastry on a serving platter or cake stand.
- Spread approximately 1/4 of the custard evenly over the pastry layer, leaving a small border around the edges. The custard will spread slightly when you add the next layer.
- Place a second pastry rectangle on top and gently press down. Add another 1/4 of the custard.
- Repeat with the third and fourth pastry rectangles and custard layers.
- For the fifth pastry rectangle, add the remaining custard.
- Place the final pastry rectangle on top, pressing down very gently.

- If using the glaze, pour or spread it over the top layer, allowing some to drip down the sides for a dramatic effect.
- Refrigerate the assembled cake for at least 1 hour to set before serving. This will make it much easier to slice.
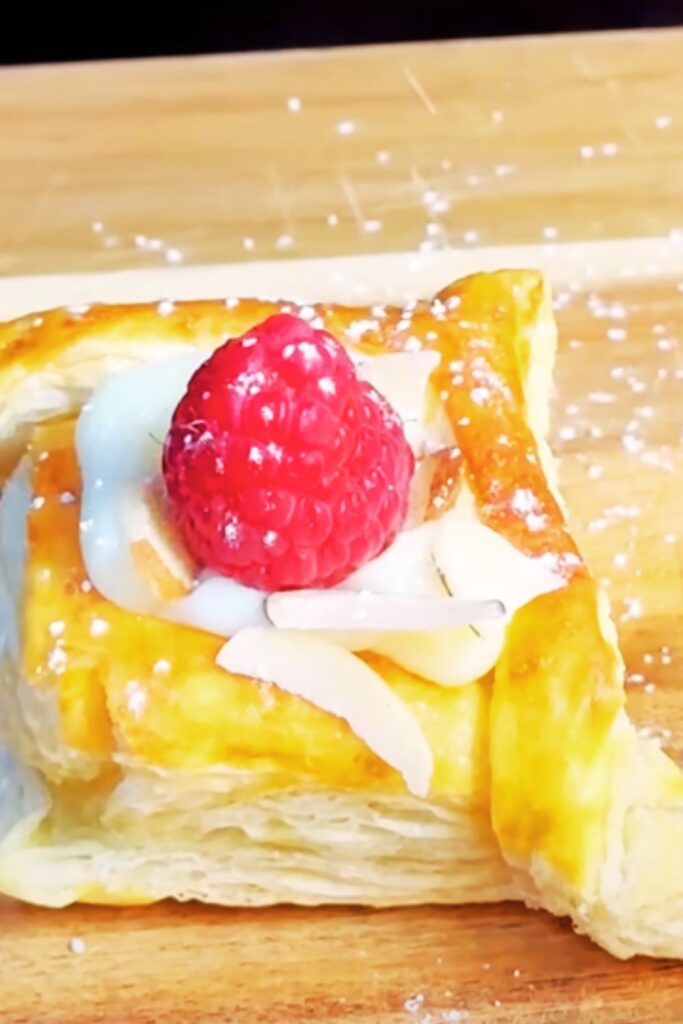
- Just before serving, dust the top with powdered sugar and garnish with fresh berries if desired.
Serving Suggestions
I find this Vanilla Custard Puff Pastry Cake is best enjoyed in several delightful ways:
- Serve with a dollop of freshly whipped cream and additional berries on the side
- Pair with a hot cup of coffee or tea for an afternoon treat
- Add a drizzle of warm chocolate sauce for chocolate lovers
- Garnish with mint leaves for a pop of color and fresh flavor
- Serve with a fruit compote made from mixed berries or stone fruits
- For special occasions, dust with edible gold flakes for an elegant presentation
- Complement with a cup of hot chocolate during winter months
Storage Instructions
| Storage Method | Duration | Notes |
|---|---|---|
| Refrigerator (assembled cake) | Up to 2 days | Keep covered but not airtight to maintain crisp pastry |
| Refrigerator (custard only) | Up to 3 days | Keep in airtight container with plastic wrap touching surface |
| Freezer (baked pastry only) | Up to 1 month | Wrap tightly, defrost at room temperature |
| Room temperature | 2 hours maximum | Not recommended for longer storage |
Nutritional Information
| Nutrient | Amount per Serving (1/8 of cake) |
|---|---|
| Calories | 485 |
| Total Fat | 32g |
| Saturated Fat | 17g |
| Cholesterol | 180mg |
| Sodium | 320mg |
| Total Carbohydrates | 44g |
| Dietary Fiber | 1g |
| Sugars | 22g |
| Protein | 8g |
Recipe Variations
The beauty of this classic dessert is how adaptable it can be. Here are some of my favorite variations I’ve developed over the years:
Chocolate Lover’s Version
Replace 1/4 cup of the milk with 1/4 cup of heavy cream, and add 4 oz (115g) of chopped dark chocolate to the hot custard, stirring until melted and smooth. The richness of chocolate elevates this dessert to new heights!
Fruity Twist
Layer thin slices of fresh strawberries, raspberries, or peaches between the pastry and custard layers. The fruit adds a refreshing juiciness that balances the richness of the pastry and custard.
Coffee Infusion
Add 1 tablespoon of instant espresso powder to the milk mixture when making the custard. The subtle coffee flavor adds wonderful complexity and pairs beautifully with the vanilla.
Nutty Delight
Sprinkle each layer with 2 tablespoons of toasted, chopped nuts (such as almonds, pistachios, or hazelnuts) before adding the custard. The nuts add a delightful crunch and nutty flavor.
Citrus Brightness
Add the zest of one lemon or orange to the custard for a bright, citrusy note that cuts through the richness of the dessert.
Troubleshooting Common Issues
Even experienced bakers encounter challenges! Here are solutions to common problems you might face:
Soggy Pastry
- Problem: The puff pastry layers become soggy quickly after assembly.
- Solution: Make sure the pastry is thoroughly baked and completely cooled before assembly. Assemble the cake no more than 3-4 hours before serving. The custard should be very thick to prevent excess moisture from seeping into the pastry.
Runny Custard
- Problem: The custard is too thin and doesn’t hold its shape when sliced.
- Solution: Ensure you cook the custard long enough to activate the cornstarch properly. The custard should be quite thick while hot and will set further when chilled. If needed, you can add an additional 1-2 teaspoons of cornstarch to the recipe.
Uneven Pastry Layers
- Problem: The puff pastry puffs unevenly, creating a lopsided cake.
- Solution: Be thorough when pricking the dough with a fork before baking. Using the weight method (baking sheet on top) is crucial for even layers. If one area still puffs too much, you can gently press it down immediately after removing from the oven.
Custard with Lumps
- Problem: The custard has small lumps or an eggy texture.
- Solution: Strain the custard through a fine-mesh sieve immediately after cooking. Also, be vigilant about tempering the eggs properly and whisking constantly during cooking.
Difficult to Cut
- Problem: The cake compresses or falls apart when cutting.
- Solution: Refrigerate the assembled cake for at least 2 hours before serving. Use a very sharp knife dipped in hot water and wiped clean between cuts. Cut with a gentle sawing motion rather than pressing down.
The Science Behind Perfect Puff Pastry
Understanding the science behind puff pastry can help you achieve better results. Puff pastry relies on layers of dough and butter that, when exposed to high heat, create steam. This steam pushes the layers apart, resulting in the characteristic flaky texture.
When making this cake, we intentionally limit some of this puffing (with fork pricks and weights) to create more even, structured layers that can support the custard. The sugar sprinkled on top caramelizes slightly, adding both flavor and structural integrity to the layers.
The key to perfect custard lies in the proper activation of cornstarch and the coagulation of egg proteins. Cornstarch must reach approximately 203°F (95°C) to fully thicken, which is why continuous cooking after the mixture initially thickens is so important.
Q&A Section
Q: Can I make this dessert ahead of time? A: Yes, but with some planning. The custard can be made up to 3 days ahead and stored in the refrigerator. The puff pastry can be baked 1 day ahead and stored in an airtight container at room temperature. However, I recommend assembling the cake no more than 4 hours before serving to maintain the crispness of the pastry.
Q: Can I use store-bought custard or pudding instead? A: While you could use store-bought custard in a pinch, homemade custard makes a significant difference in flavor and texture. Store-bought pudding is typically too soft to hold up the layers properly. If you must use pre-made custard, look for a thick pastry cream and consider folding in a small amount of whipped cream to improve the texture.
Q: My puff pastry didn’t rise evenly. What went wrong? A: Uneven rising usually occurs when the dough wasn’t kept at a consistent temperature before baking or when the oven temperature fluctuates. Make sure your puff pastry is thoroughly chilled if it warms up during rolling. Also, check that your oven maintains a consistent temperature throughout baking.
Q: Can I freeze the assembled cake? A: I don’t recommend freezing the fully assembled cake as the texture will deteriorate upon thawing. However, you can freeze the baked puff pastry layers (tightly wrapped) for up to a month, and make the custard fresh when you’re ready to assemble.
Q: How do I prevent the top from sliding off when serving? A: This is a common challenge! Make sure your custard is thick enough to hold the layers together. When serving, use a sharp, clean knife and cut with a gentle sawing motion rather than pushing down. Chilling the assembled cake thoroughly (at least 2 hours) before cutting also helps significantly.
Q: Can I make a dairy-free version of this cake? A: Yes, though with some adjustments. For the custard, substitute the milk and cream with full-fat coconut milk or almond milk (for the latter, increase the cornstarch by 1 tablespoon). Use plant-based butter alternatives in both the custard and glaze. Be aware that the flavor profile will change somewhat, but it can still be delicious!
Final Thoughts
Creating this Vanilla Custard Puff Pastry Cake is truly a labor of love, but the results are absolutely worth the effort. There’s something magical about the moment when you slice through those perfectly layered sections, revealing the beautiful alternating pattern of golden pastry and creamy custard.
I’ve found that this dessert consistently impresses guests, who often assume it must have come from a professional bakery. Yet the process of creating it at home gives you full control over the quality of ingredients and freshness that no store-bought version can match.
Don’t be discouraged if your first attempt isn’t perfect – each time you make this recipe, you’ll gain more confidence and skill. The journey of mastering this classic dessert has been one of my most rewarding culinary adventures, and I hope it becomes one of yours too.
Whether you’re preparing it for a special occasion or simply want to treat yourself and loved ones to something extraordinary, this Vanilla Custard Puff Pastry Cake is guaranteed to create memorable moments around your table.